
Insights on the Linksys E5350 router setup process
The Linksys E5350 router enables you to savor increased network speeds up to 2.3x faster compared to other wireless-N routers already in the market. You can stream HD videos, surf the web, play games online, and do more conveniently. If you have recently upgraded to the latest Linksys E5350 router device, and need help with the setup process, this blog is just what you need. Also, if you are facing issues with accessing the login page or editing the network settings, you can refer to the troubleshooting information available in this blog.
Requirements for Linksys E5350
- An active internet connection
- Spare ethernet cable(s)
- A Wireless or a wired computer/laptop for the setup part
- Compatible web browser like Google Chrome, Firefox, Safari, Edge or Internet Explorer

Setting up the Linksys E5350 wifi 5 router
Linksys E5350
- Open the Linksys App on your Smartphone. Once the Linksys Velop Login page appears, click on the “Launch Setup” button.
- The Linksys Smart WiFi Setup App will then ask for your region in which you are located. Click on the Allow button on the notification which you see.
- Next, the app will require you to read through the Terms and Conditions. When you are done, simply click on the Agree button to continue with the setup process.
- The next screen will ask you to specify the kind of router you are going to set up. Select Velop from the menu.
- Next, specify on the window, which type of router setup you are using.
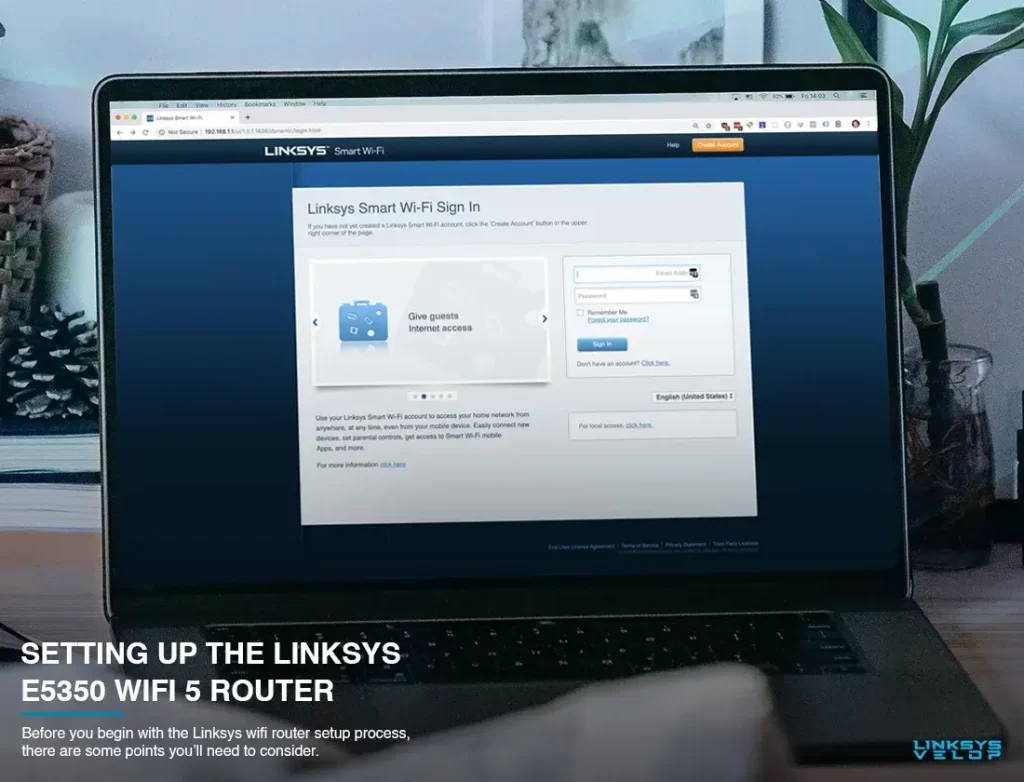
Before you begin with the Linksys wifi router setup process, there are some points you’ll need to consider. Here is a look at them:
Note down the default WiFi name and password. These details can be obtained from the product label of the device. If you don’t find them there, refer to the user manual for the same. For now, you can use the following details:
Admin username: admin; Password: admin
Default web address: https://myrouter.local
IP address: 192.168.1.1
Beginning with the router setup
- Power on the modem device and connect an ethernet cable from it to the ethernet port on the Linksys router. However, before you do so, make sure you turn off and remove the old one.
- Once the connections have been made, connect the power adapter to the Linksys router and plug it into the power outlet.
- Allow the router to power on. Notice the power LED to turn solid.
- Open the wireless networks manager on your computer system and connect to the router network. Remember, you don’t need a password here.
- If you are connecting using an ethernet cable, run the ethernet cable from one of the ethernet ports on the router to the one on your computer. For added speed range and security, making a wired connection is often recommended.
- Launch a web browser and in the address bar, type either https://myrouter.local or 192.168.1.1. Press Enter.
- You will now be redirected to the Linksys E5350 wifi router login page.
Configuring the Linksys E5350 router settings
- On the ‘Let’s get started page,’ select the radio button next to ‘I have read and accept the License Terms for using this software’ and click on the ‘Next’ button.
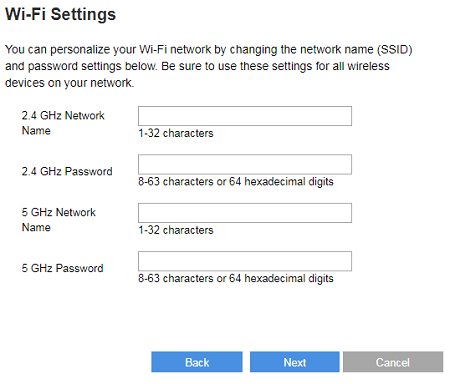
- In the next window, you can edit the new network SSIDs and passwords. Simply type in the network name you wish to keep in the fields specified and click on the ‘Next’ button.
- Create a new router admin password in the new window and click on the Next button again.
- On the final setup screen, review the settings that are being displayed. Finally, click on the Save button.
- Connect to the new router network now and then click on the Next button again.
- Type in your email address to register your Linksys E5350 router and click on the Next button. If you do not wish to register, click on the Skip button directly.
- Finally, click on the ‘Done’ and ‘Ok’ buttons. From the final screen, click on the ‘Done’ button again.
Once you have set up your Linksys router, you can enjoy the powerful network that delivers enhanced speed, range and security.