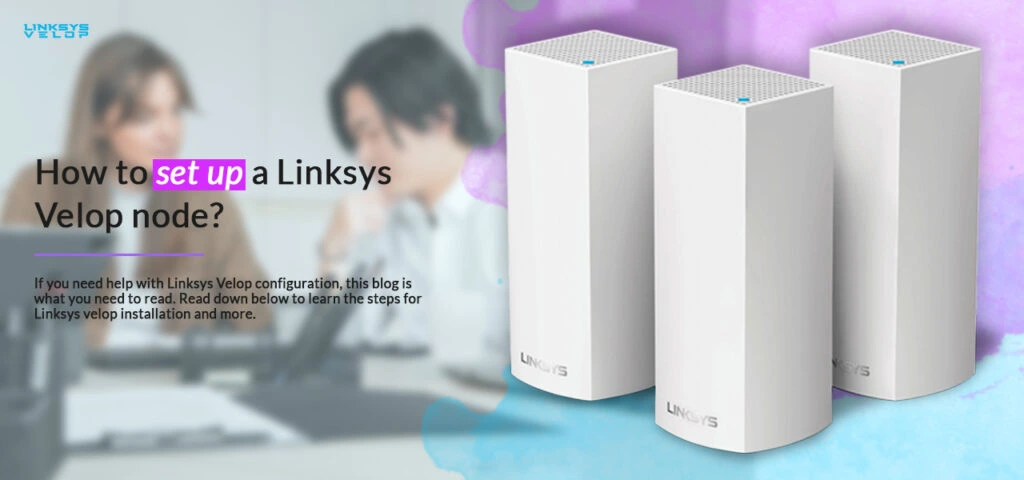
Got your hands on a new Linksys Velop system? Wondering how to set it up? If you need help with Linksys Velop configuration, this blog is what you need to read. Read down below to learn the steps for Linksys velop installation and more.
Things you will need
- An existing velop network with a parent node
- A working internet connection
- Linksys app installed on your mobile device
Linksys velop setup with an existing router
To begin with the Linksys velop setup, begin with the steps mentioned below:
- Download the latest version of the Linksys Velop app from your device’s respective app store.
- Now, connect your mobile device to Velop’s Wi-Fi network.
- Open the Linksys app and the Linksys Router Login page will appear. Click on the Login button.
- On the next screen, enter the email address and password for your Linksys server account and click on the Login button.
Configuring the settings
- You will now see the main dashboard appear on the screen.
- Click on the three horizontal lines on the top left of the screen. This is the Menu button. You will see different options on the screen. Click on “Set up a new product.”
- Here, click on the “Add Another Node to xxxxx” button. Here xxxxx will be the name of the existing Wi-Fi network.
- Click on the “To Extend My Wi-Fi with a new child note” button.
- You will be asked to “Turn On Bluetooth.” Enable the device’s Bluetooth to proceed with the setup steps.
- The mobile app screen will show you the steps and instructions on how to place a node. Click on “Next” once you have read through the same.
- Next, plug in the velop device and click on the Next button once the lights turn solid purple.
- Wait for the velop app to start the new node. This will take a few minutes of time. Allow the same to get through. During this process, you will see a message “Waking up your node” with a progress bar at the bottom.
- When you see a message “Is the node that you’re adding blinking purple?”, click on “Yes, It’s Blinking purple.”
- If you don’t see the message, click on “No, it is not blinking purple” and follow the on-screen instructions.
- Now, wait for the app to add the node to your Velop system. This might take a few minutes, allow it to add the node.
Finding the perfect location for your Velop node
- The SpotFinder application in the app will help determine if the location you are installing your velop is good. Click on the Next button and follow the on-screen steps or just click on “I’d like to leave it here.”
- If you are asked to unplug and move the node closer to the main node, wait until the LED turns solid purple again. Now, wait until the node finishes booting up.
- In the next step, give your node a name. Select a name for your node from the options you see on the screen or simply name it something else of your choice. Once done, click on the Next button.
- You will see a success message on the screen telling you that the node has been added successfully. Click on the Next button to proceed.
- If you wish to add more nodes to the network, you can click on “Add another Node” and follow the same instructions as discussed above. If not, click on “That’s it for now” button.
- The next screen will be the “Always Fresh Page”, check the report crashes button and click on the Next button.
- Now, the Wi-Fi network has been set up with the Linksys velop. Click on “Go to Dashboard” to view the settings that you have just finished configuring.
With this step, linksys velop configuration is now complete and you can proceed with accessing the Wi-Fi network.
Troubleshooting issues with Linksys Velop Setup
If you face issues anytime during the Linksys Velop Setup process, here are some steps you can follow:
- Restart your Velop router system. Doing so can help resolve a lot of issues including the network connectivity and more.
- Check the power cable connections and ensure that the cables are not damaged. Improper voltage can deteriorate the Linksys Velop devices and prevent them from functioning well.
- Inspect the ethernet cable connections if you are using any. Again, ensure that the cables are in good condition and there are no signs of damage, whatsoever. If you find issues with the cable, you can replace the same with a new one.
- Check the default Velop credentials for correctness. Ensure that you are typing the correct SSID and password from the Velop router to login to the same.
- If you continue to face issues with the Linksys Velop Setup, you can reset the Velop router to its factory default settings. Once reset, you can reconfigure the network settings.