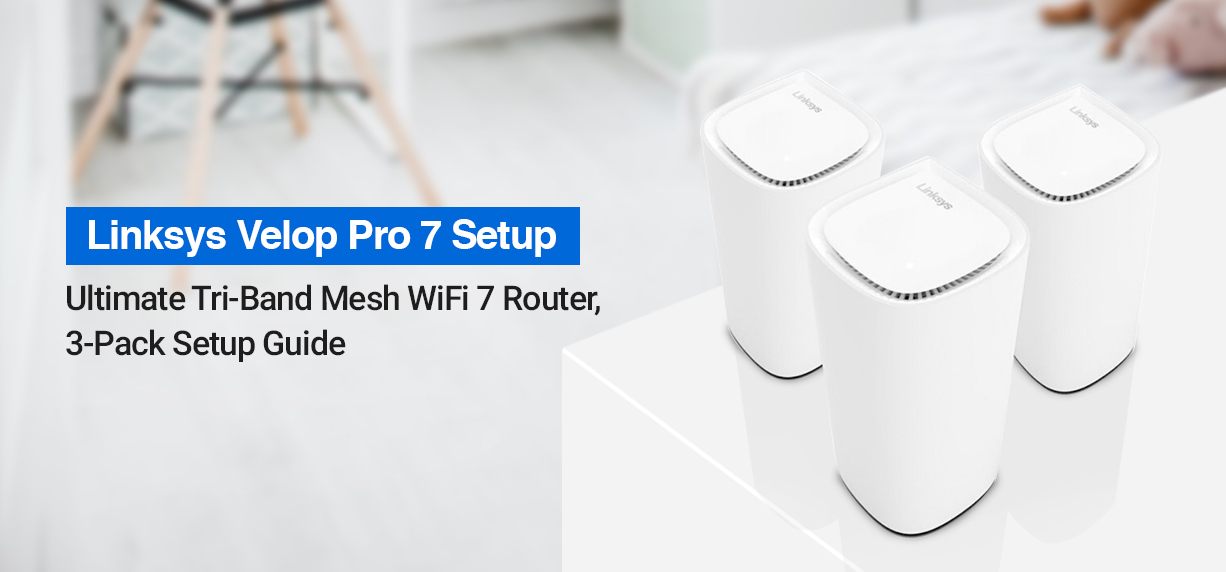
Linksys Velop Setup
Need of Linksys Velop login system
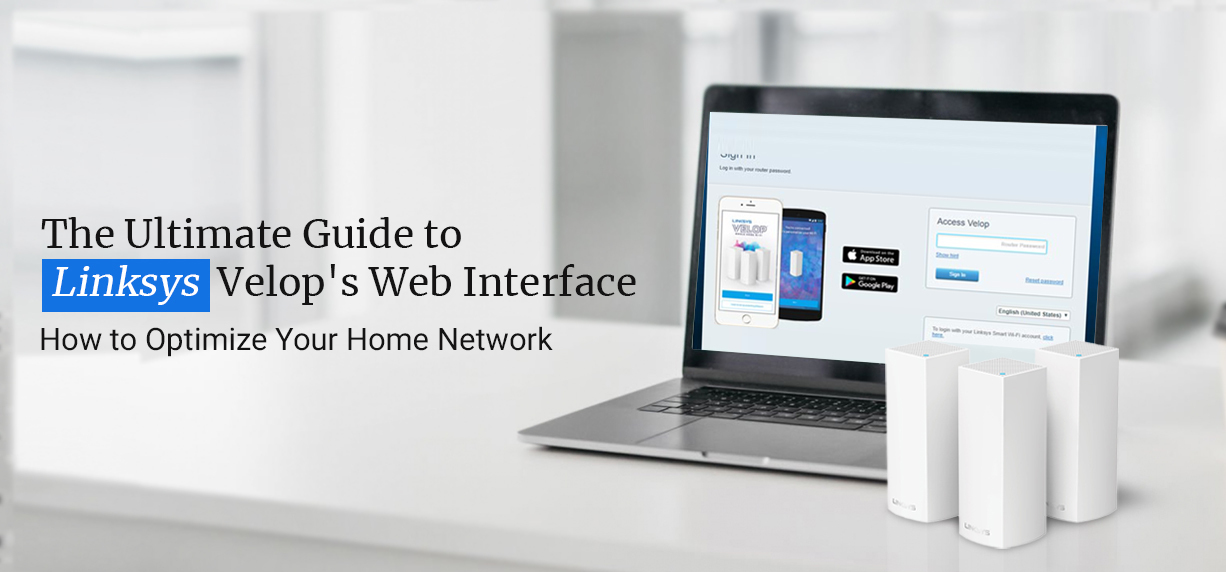
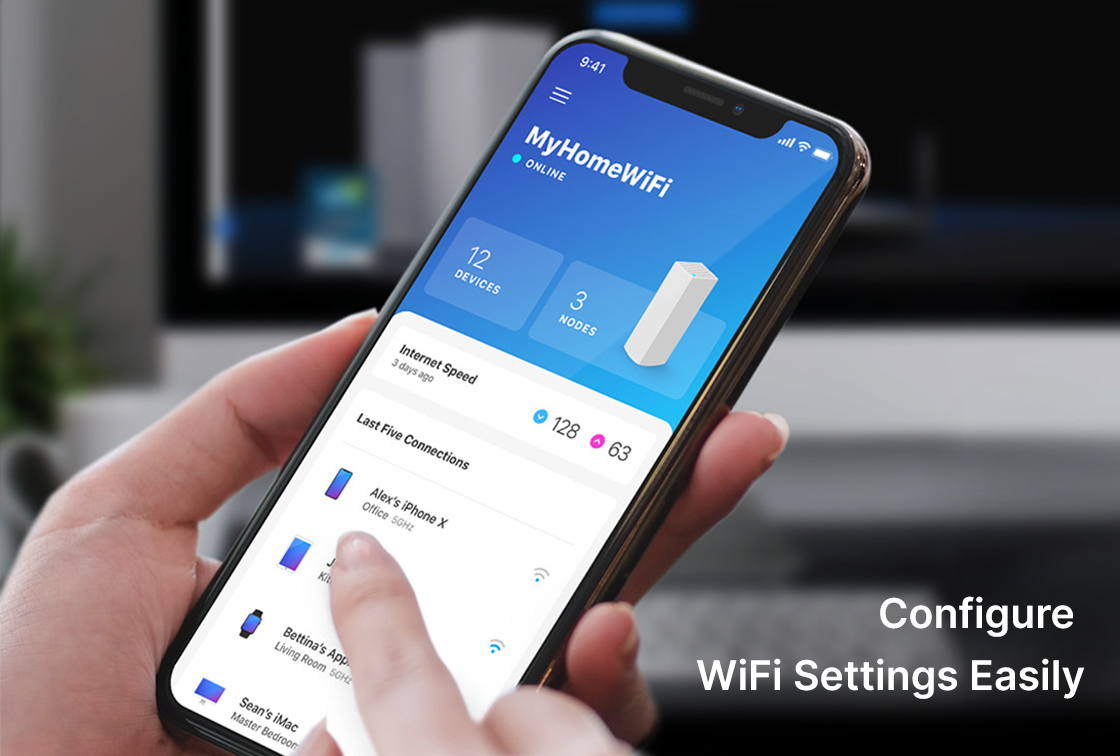
When you are looking to configure the internet and device related settings for your Velop router, you’ll need to access the Linksys Velop Login page. This can be done using the default web address or the IP address. Every networking device including your Linksys Velop router system, uses two IP addresses- the public IP and the private IP. And since the web setup wizard is based on the private IP, you’ll need to use the Linksys Velop login IP to reach the setup wizard. Once you have used the default login IP, you can use the default admin credentials to reach the setup wizard.
Linksys Velop Tri-Band Mesh WiFi Features
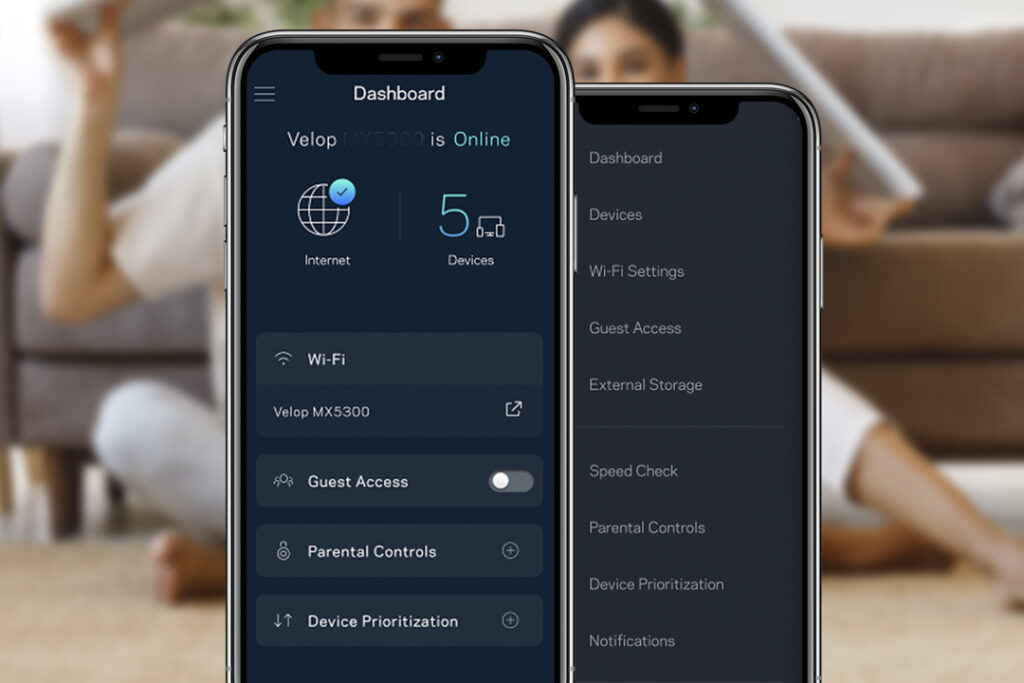
There are numerous features that the Linksys Velop Tri-band Mesh WiFi router comes equipped with. These are Linksys Shield, Voice Control , Guest Access, Parental Controls, Device Prioritization, Speed Test, etc. Each of these features can be configured on/off once you have logged in to the Velop router.
On a lookout for Linksys Velop support team?
This website is the right place for you!
When looking out for a setup guide, you want to make sure that the steps are easy to follow. With the information accumulated on this page, you can be assured that the details that you will be fed with are the shortest yet the most effective. When setting up a Velop mesh router, it becomes important to understand the way things work.
Velop is based on Mesh Networking and uses multiple nodes to cover your entire home/office for all-around coverage. This system is unlike the conventional Wi-Fi system and offers better coverage at all times. These are modular in nature, meaning there are nodes which help connect your devices to the internet. A single setup will have two more nodes in addition to a primary node. You can always add more nodes as per your preference, however, doing so will generate a second network. Setting up a Velop system is almost similar to setting up a Linksys Velop router. You can set up your device either using the smartphone app or the manual setup process i.e. using the web-based setup wizard.

Preparing for Linksys velop setup
- Connect the Linksys Velop mesh router to the modem using an ethernet cable. Now, connect the power cords as well/ insert the batteries in their location.
- Connect your router to the power outlet and switch on the power supply. Wait for the power LED on the device to turn solid. You can take help from the Linksys App or the web browser on any of your computer/smartphone to set things up.
- Once the devices are ready and functional, you can follow some easy steps to set things up.
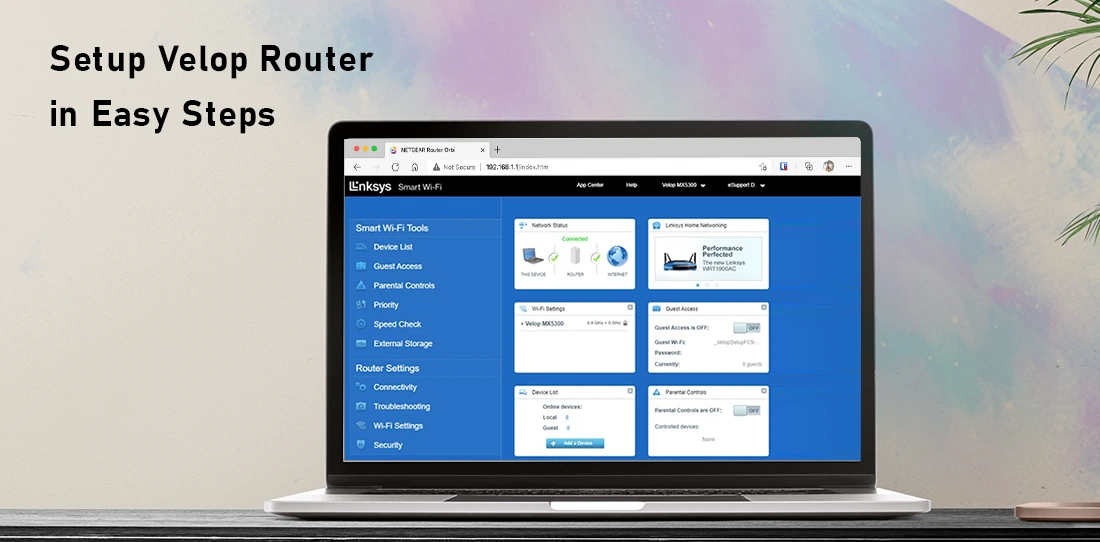
Linksys Velop Login Steps

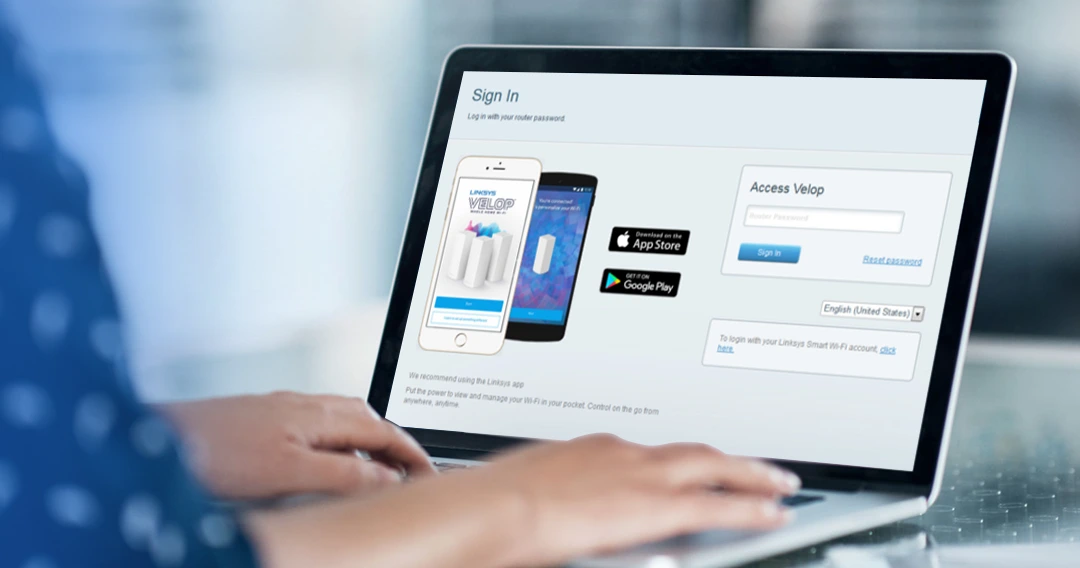
- Once connected, open a compatible web browser on your connected computer. Now, type the default web address http://myrouter.local in the address bar and press Enter.
- This will direct you to the Linksys velop login page. If not, use the IP address 192.168.1.1 to reach there.
- Type in the admin password and username in their respective fields on the page and click on the Login button.
- The login page will verify the entered credentials and sign you into the Linksys Velop setup wizard.
Alternatively, you can use the Linksys Velop app to access the login page as well. When you proceed with the setup method using the app, you will navigate through the Linksys Velop login page as well.
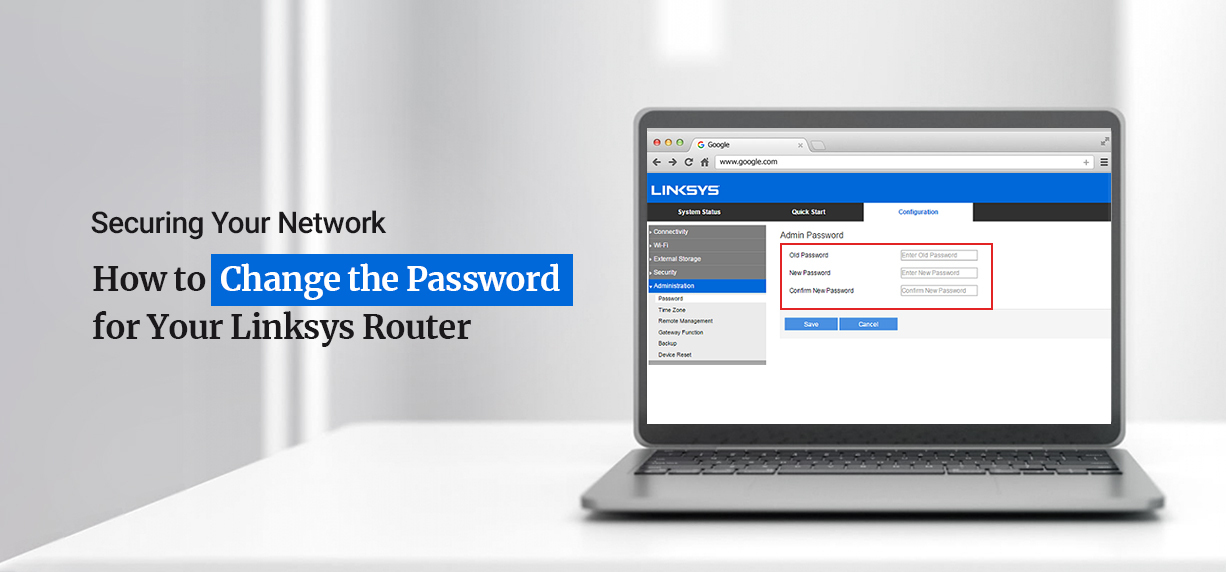
Change your Linksys Velop login password
Your Linksys Velop router can be managed easily using the setup wizard. However, you’ll need to sign in through the login page to be able to access the same. Now, there are two passwords for your Linksys Velop router- the admin login password and the network login password.
You can change the admin and network password details easily by logging in to the Linksys Velop setup wizard. Here are some steps you can follow to do so-
Linksys Velop Login Password Change through a Web Interface
- Login to the Linksys setup wizard using the default web address http://myrouter.local.
- To change the admin password details, head to the Administration section and click on the Edit button next to the default password field.
- Type in the new password values in the field and then click on the Save button.
Once the password is changed, you’ll be logged out of the device. Sign back in using the new login password details.

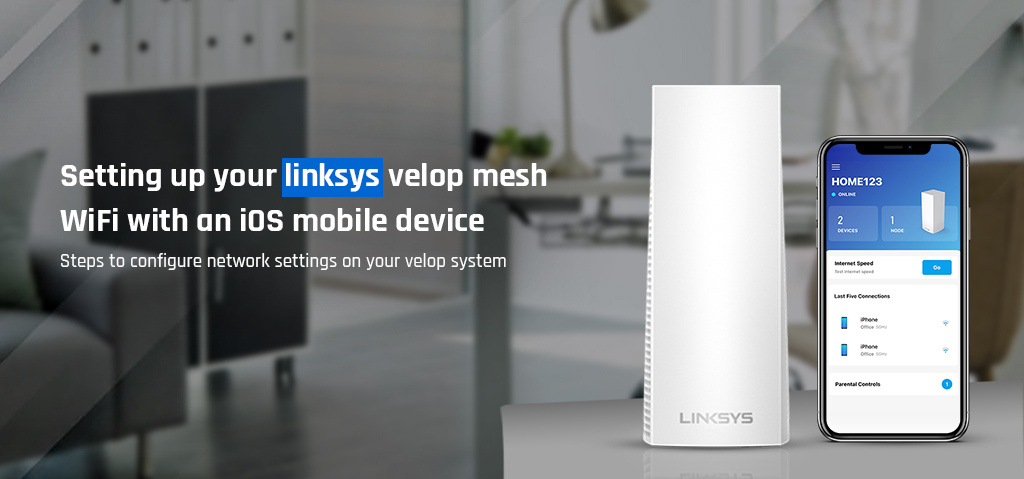
Using the Linksys Velop app for setup
- Open the Linksys App on your Smartphone. Once the Linksys Velop Login page appears, click on the “Launch Setup” button.
- The Linksys Smart WiFi Setup App will then ask for your region in which you are located. Click on the Allow button on the notification which you see.
- Next, the app will require you to read through the Terms and Conditions. When you are done, simply click on the Agree button to continue with the setup process.
- The next screen will ask you to specify the kind of router you are going to set up. Select Velop from the menu.
- Next, specify on the window, which type of router setup you are using.
You will see two options with:
- I use a MODEM from my ISP and I’m replacing my router with the Linksys Velop, and
- I have a gateway (MODEM and router combined) from my ISP.
Click on the appropriate option.
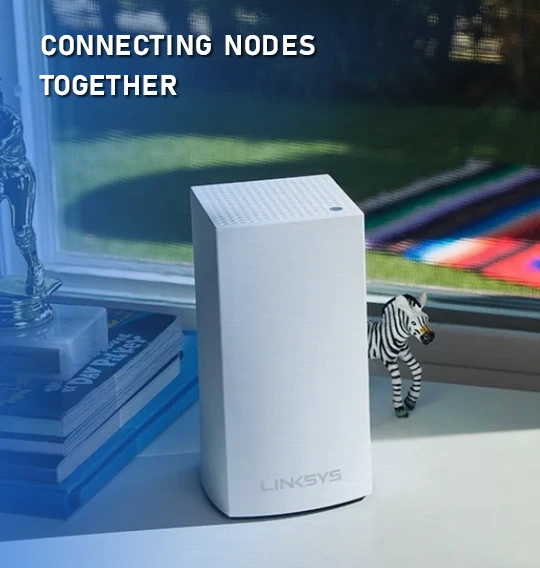
Connecting Nodes together
- Now, it’s time to plug in your primary Velop Node. Then, select “It’s Plugged in”.
- Next, you can place the node in an open space and select the option or the button “It’s in the Open”.
- Use an Ethernet cable and connect your Velop router to the MODEM device. Once you have done so, you can click on the button “It is connected”.
- This step marks the point when your router will communicate to your new router and start setting up the internet connection for you to use.
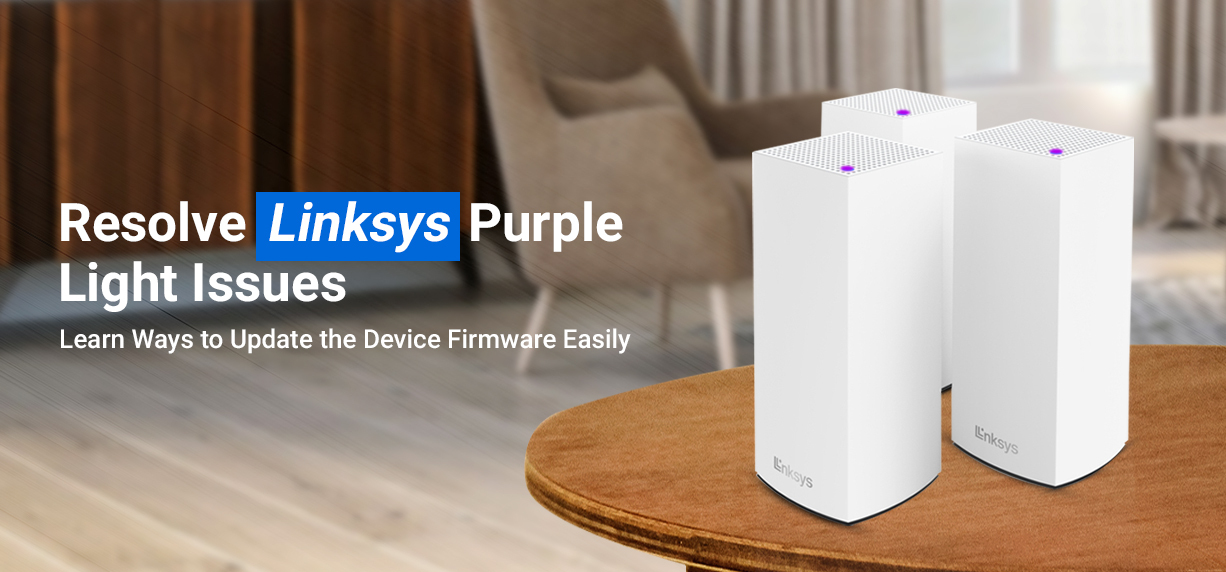
- The LED light on your Velop Node will turn purple. Once it does, click on the Next button.
- On the next window that appears, you’ll need to create a new account. If you already have a Linksys Velop Login account, you can simply click on the “Log in Here” button.
- Now, to create an account, enter the required details like the Email Address and the Password which you want to keep. Once entered, click on the Create Account button.
The next page will show you the Linksys velop login page.
- Enter the details like the email and the velop setup password, and click on the Next button to access the next page.
- On the next page, you will be required to enter the name and the password for your Wi-Fi network.
- Once you have specified the details in the boxes, click on the “Next” button.
- From the next screen that appears, click on the appropriate category which you would like to classify this network.
- Once you have done that, click on the Next button.
Adding more nodes
This step marks the completion of your setup process for the Velop device. The success page will appear on your screen and you will click on the “Next” button now. If you wish to configure the additional nodes, you can click on the “Add Another Node” button and proceed with adding the additional nodes. If you are done with the setup and need not to add the additional ones, you can click on the “That’s it for now” button. The main dashboard will appear on the screen and you can connect your wireless devices to the network now.
Linksys Velop Setup Bridge Mode
To install your Linksys velop setup on a bridge mode, ensure you have the latest version of the Linksys App installed on your device. Once you have switched to Bridge Mode, all the child nodes will start to work on Bridge Mode. You can add more nodes by selecting the “Set up a New Product” option on the Linksys App.
- If you are looking to change the connection type to the previous mode or wish to disable the Bridge Mode, you will need to go to the Linksys App and click on the Menu icon and then select Advanced Settings.
- Once done, you can go to Internet Settings and select Connection Type, and click on the Disable Bridge Mode button.
- If you switch on the Bridge Mode, some of the features like the Parental Controls, Device Prioritization, Custom internal IP addresses, etc.

Enabling the Bridge Mode
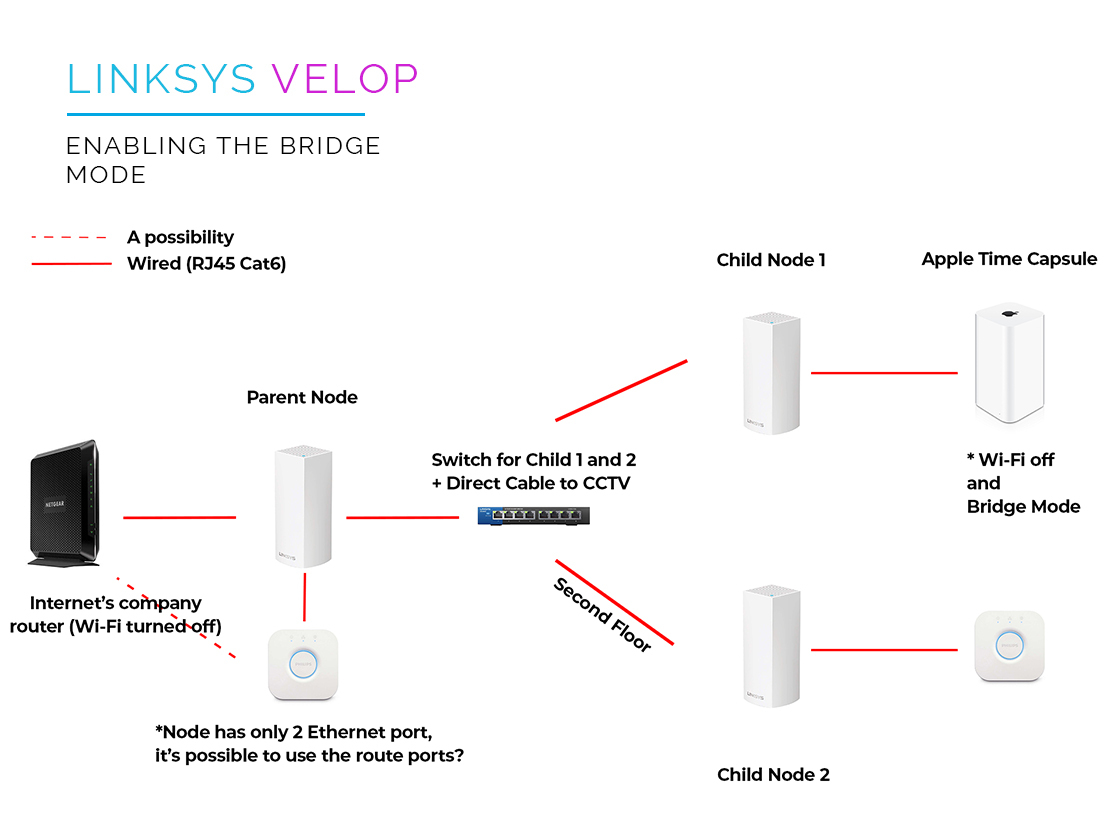
- Head over to the Linksys App.
- Click on the Menu icon from the top left hand corner.
- Click on Advanced Settings and then select the Internet Settings.
- On the next window, click on the Connection Type button.
- Scroll down to click on the Bridge Mode button. When the window appears, click on the Enable Bridge Mode.
- The velop router setup will then save your settings and once done, you’ll see a notification indicating that the settings are saved successfully.
The main dashboard will now indicate that your Linksys smart wifi router setup is on Bridge Mode.
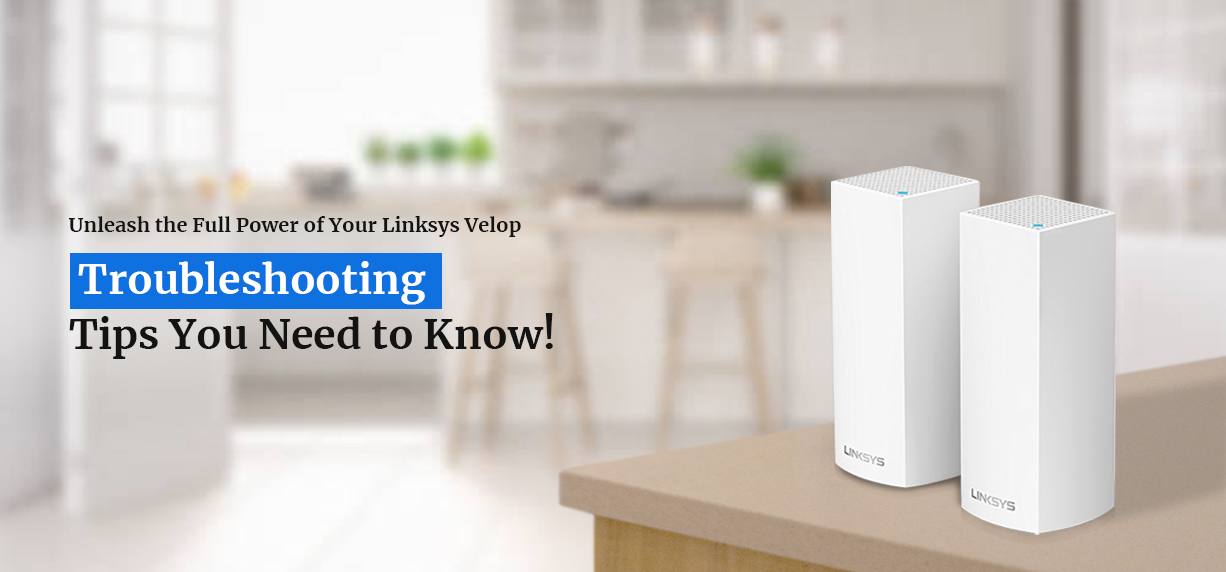
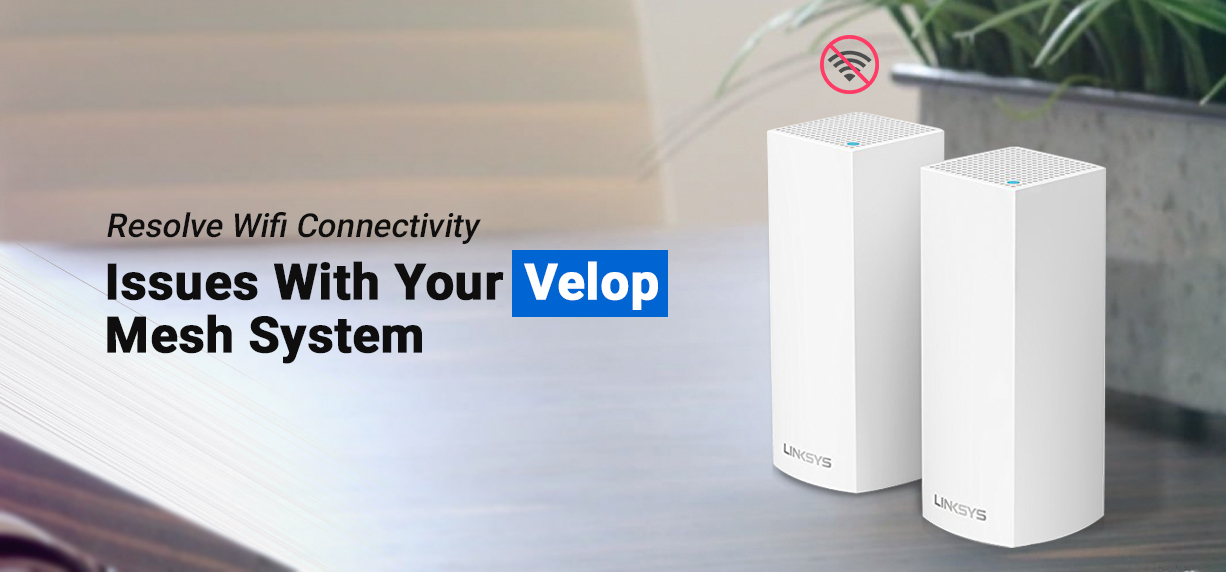
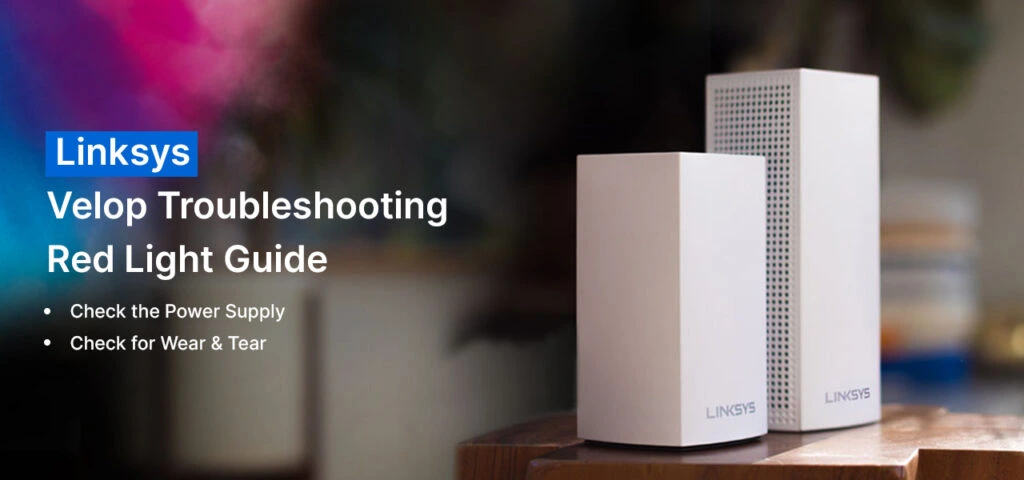
Linksys Velop Troubleshooting
- Check the cable connections between the Linksys router and the MODEM and the other devices. Ensure proper power supply is there and there is no fault in the cables that you are using.
- Check if you are connected to the Velop network or not. If not, find the correct router SSID and then connect to the Velop router network.
- Also, make sure that you are using the correct web address/IP address to access the velop login page. If you are using the Velop app, make sure it is on the latest version.
- If following the above steps doesn’t help resolve the issue, you can always factory reset linksys velop system. To learn how to reset linksys velop mesh router, you can reach out to the team at our end for help.
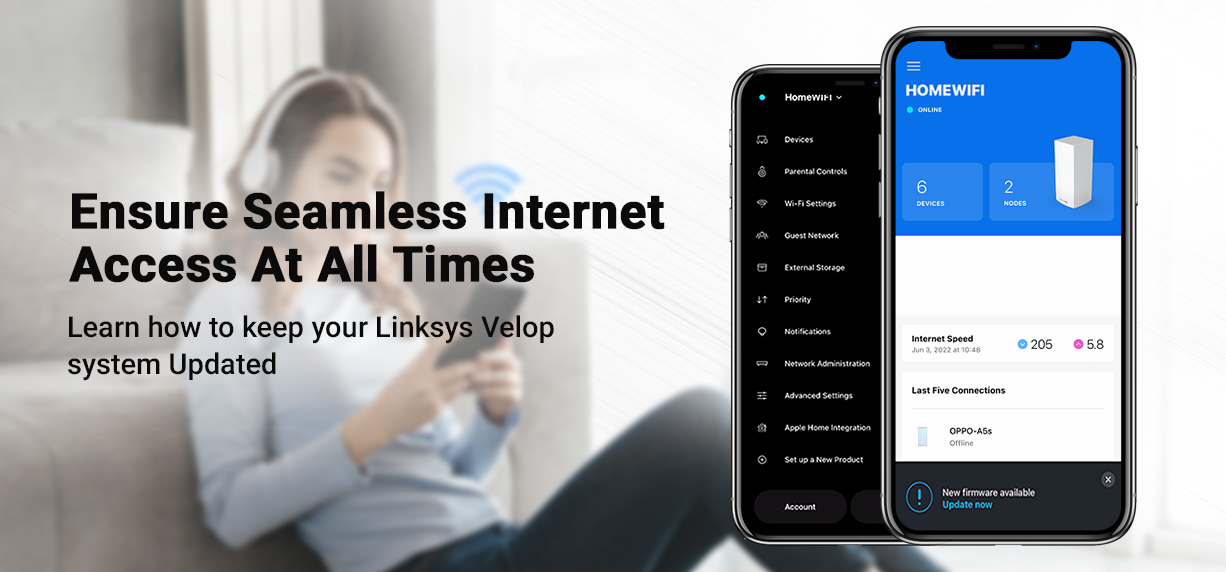
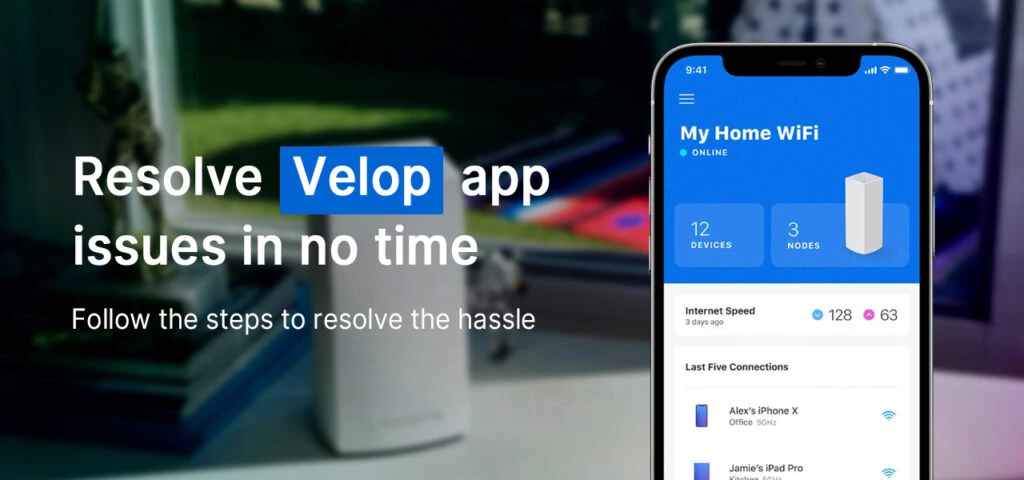
Firmware Update using Linksys Velop App
Fimrware version of your router plays an important role in keeping it functional. Firmware is what defines the algorithms by which the router performs its intended functions. Though most routers are programmed to update the firmware themselves, old router models might still require manual intervention.
Here are some steps you can follow to make the latest Linksys Velop App Firmware Update easily-
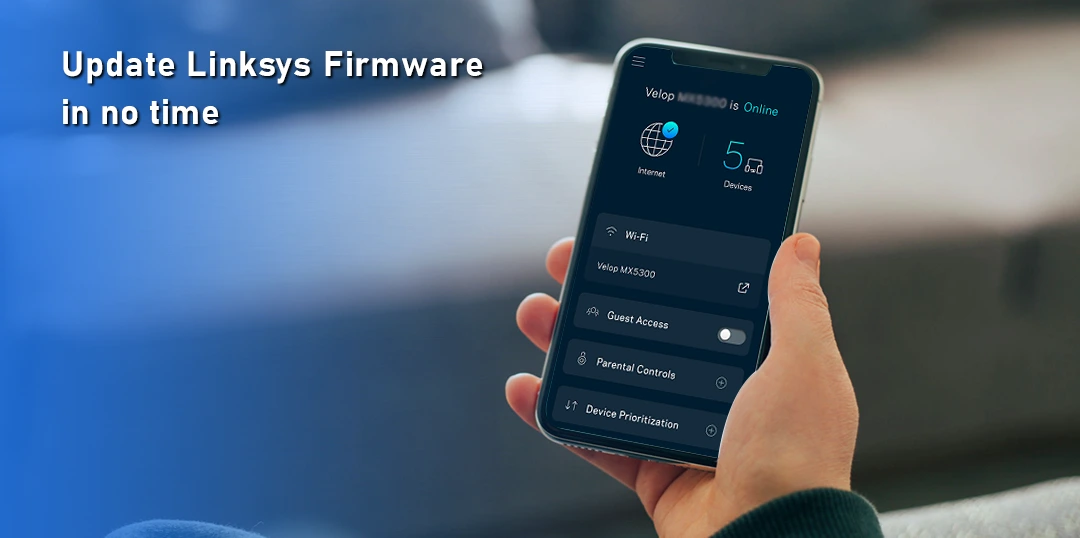
Linksys Velop firmware update using a Mobile device
You can use the Linksys Velop smartphone app to update the firmware version. Here are some steps you can follow:
- Launch the Linksys App on your smartphone and login to the Linksys account.
- Tap on the Menu icon and head to the Network Administration
- If you see a prompt New Firmware Available on the screen, click on the Update Now link on the prompt to begin the update process.
- While the device is being updated, make sure you don’t unplug the router. Wait till the light on the router/node turns solid blue and reconnect to the network.
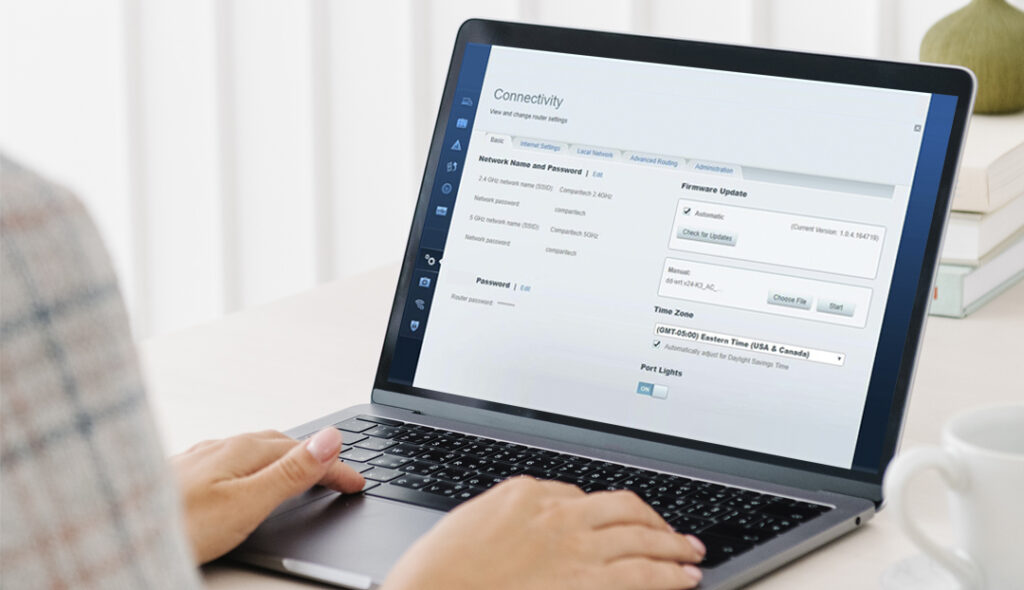
Linksys Velop Firmware Update via Web Interface
The default Linksys Velop login address https://myrouter.local can be used to update the firmware version as well. Once you have logged into the setup wizard, here are the steps you can follow:
- Head to the Router Settings menu and click on the Connectivity
- Click on the Check for Updates button to see if there’s an update available. If there is, click on the Update button to start updating the firmware.
- Once the process is over, the LED on the router will turn solid blue.